Week 1: Switch – Notebook
As a very young child, ages 1–2, I was fascinated by electrical switches of all kinds. I would turn on lights, fans, lamps, & anything else connected to a switch, for hours, just for the fun of it. My mom reports that before I could speak, I had a “word,” “Aa-taa,” which seemed to mean “turn on or off the switch.” My parents would hold me up to the switch, & I’d flip it while watching the light/fan. Apparently, not yet being able to make things happen on my own, I liked making something happen with the switch.
My interest in switches didn’t stop, apparently. Let’s build a switch!
Building the basic switch
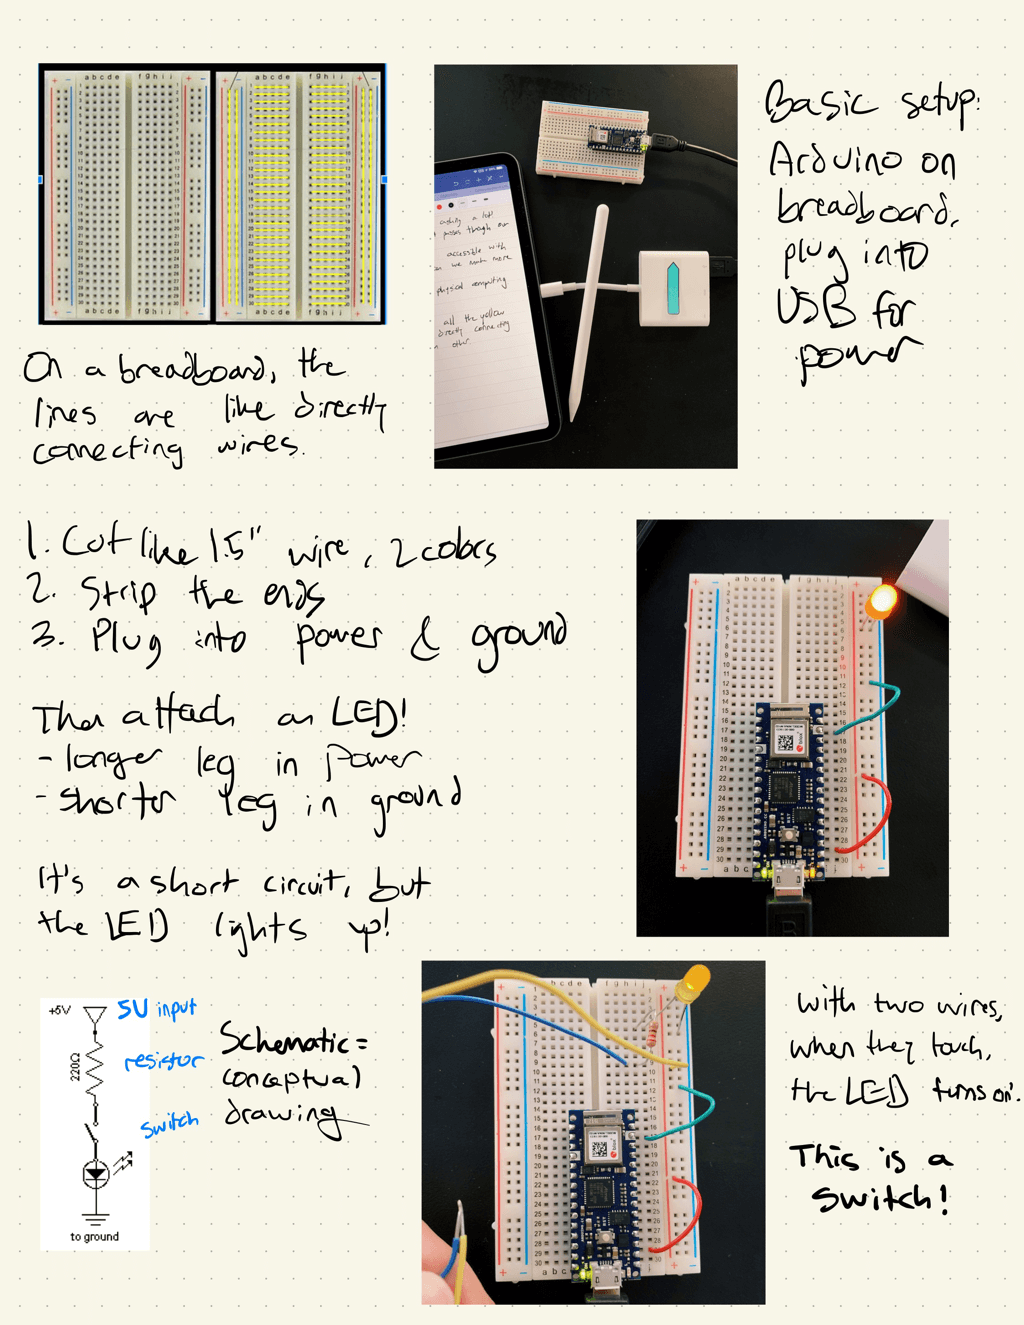
Plugging the power cable into my iPad, & it works! Touch the wires together, & lo & behold:
Prior art
Two years ago, in September 2017, I attended PennApps, a 48-hour hackathon for high school & college students. With a team of 3 others, I helped build Blink, a hardware + software medical product to assist people who are locked-in (can’t move body parts, though oftentimes still have control of their eyes). While existing communication devices exist, they rely on expensive equipment, are often not covered by insurance, & cost $20k+.
Blink cost $20 to make. At its core, it’s similar to this project, with a piece of foil (conductive) wrapped around an electrical sensor, hooked onto a hat with a custom 3D-printed mount, connected to an Arduino. As the wearer blinks, the switch is turned on & off. We wrote a Python server to interpret the blinks as Morse code, then I designed a React/Next.js app to show the results live, like for a caretaker or family member using an iPad.
Here’s a video demo of the project: (made at 1am after nearly no sleep for two days so excuse the cringiness)
Surprisingly, the project won the Best of Health category award & a $1k grant at the event. Unfortunately, producing hardware in bulk is incredibly difficult & expensive, & our team hasn’t pushed the project very meaningfully forward since the event.
It does prove, however, that a very simple contraption—the hardware was barely more complex than this assignment—can be used incredibly meaningfully. It’s all about the application.
Creative application
It’s time to apply this switch to something new—more relevant to my daily life.
I wish I journaled more. Taking a few minutes to write in my notebook about what I’m thinking about—just for me, not for an online audience—is something I don’t do often enough. The first step of writing in my journal is just opening my notebook:
What about hooking the switch up to my notebook? When the notebook is closed, the wires will touch, then when I open the notebook, the wires will separate.
Connected to software, we could add the dimension of time, tracking what days I open Notebook & how many times.
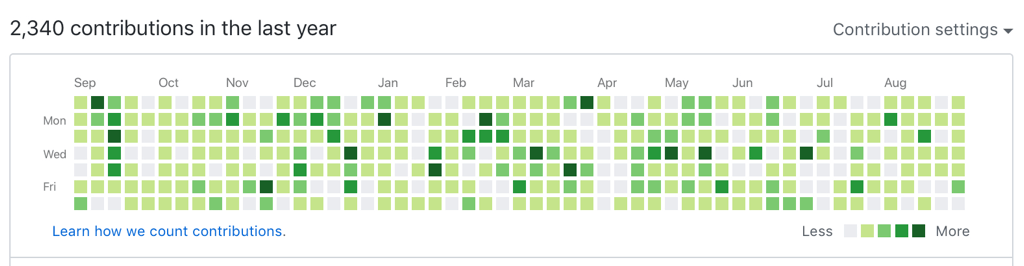
Connected to a Node server/database & a simple visualization on a website, I could make a public tracker of my journaling habit, akin to GitHub profiles’ contribution graphs:
Let’s get started!
Iteration 1
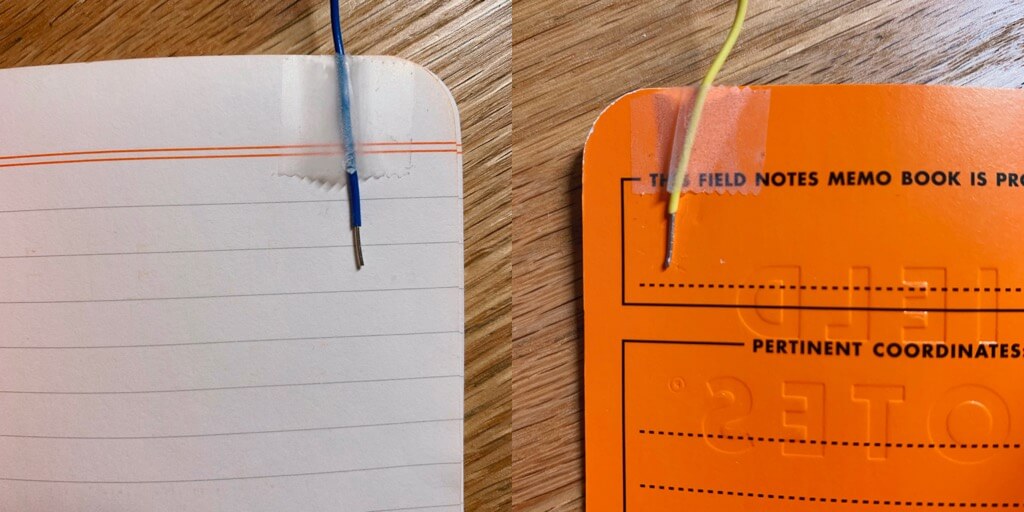
I need to connect these wires to the notebook, preferably without buying anything. Opening my desk drawer, I grab some Scotch tape, & connect the wires to the inside cover & first page. (I’m using a blank notebook to avoid publishing my real one!)
Trying it out…

Well that’s a good start! Though it sounds simple, this operation took about 10 minutes. Look no farther than the first frame of the animation to see a critical flaw:
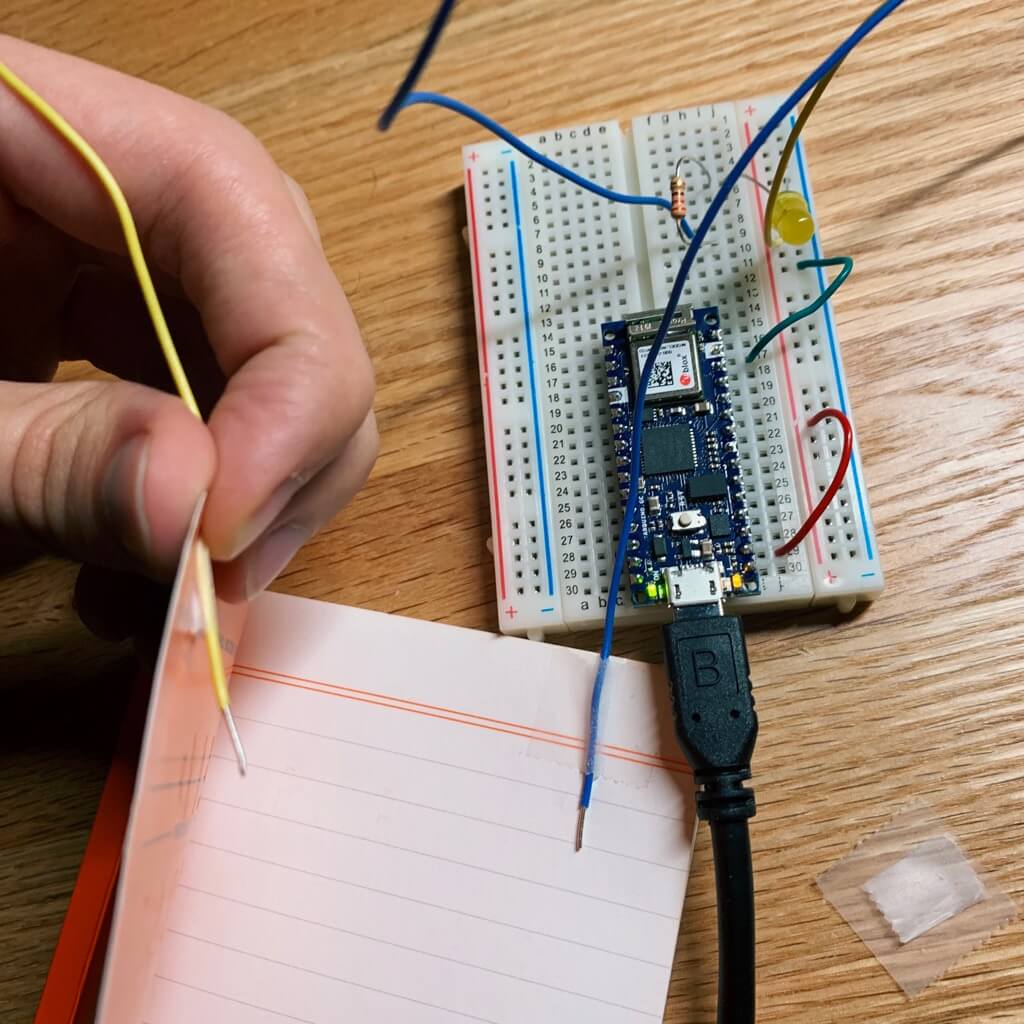
The wires are small & firm, the tape is loose & not very adherent, & most of the time, the wires don’t touch one another. The tape kept coming off, & positioning the wires with the same inset on both sides is difficult. This isn’t going to work.
Iteration 2
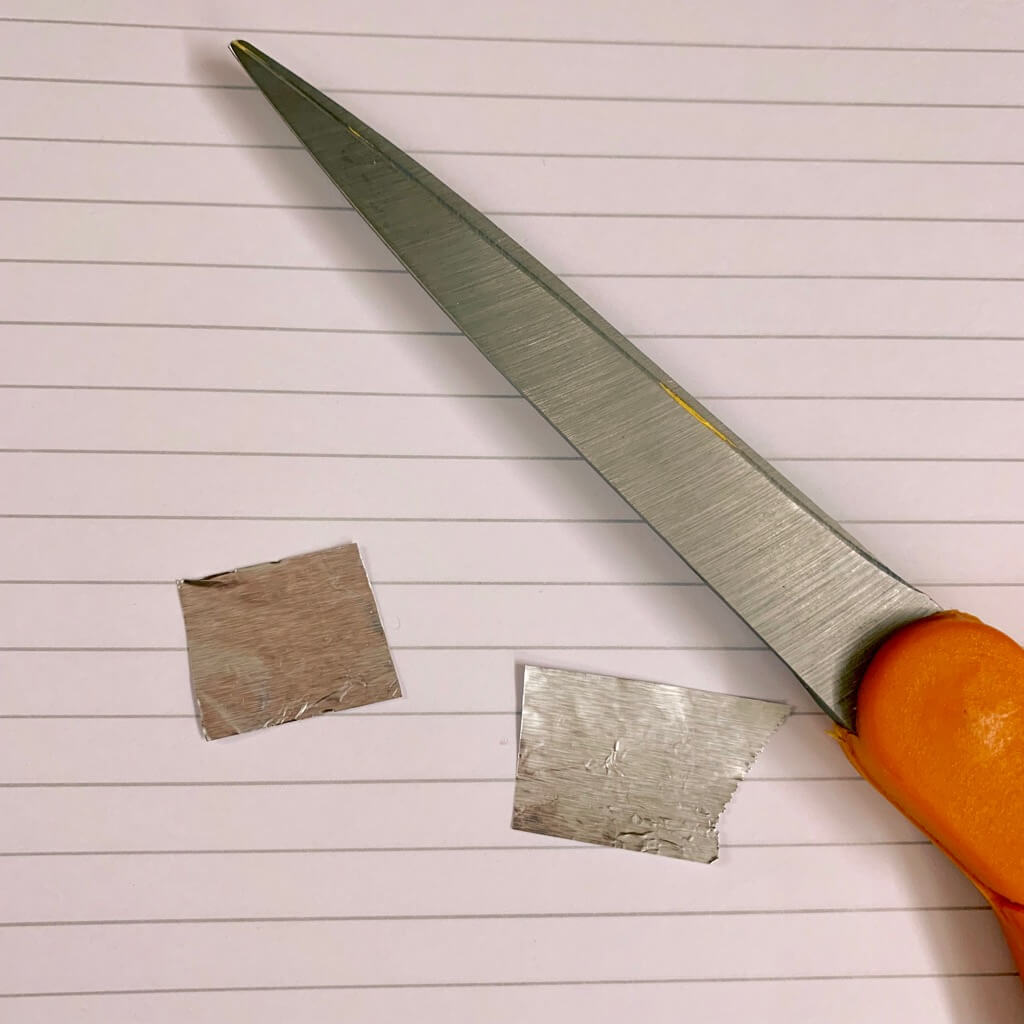
I got a piece of foil! From a friend who has a kitchen :) & cut off two pieces. Also upgraded to a larger journal that stays flat/closes more tightly so that’s not such an issue for this round.
First attempt here was the add “contacts” to the same spots as I used on the previous notebook. I cut two small pieces of foil:
At first I taped over the contacts to adhere the foil, before realizing this defeated the whole project. Properly adhering them didn’t work at all either—the strong wires ripped through the foil.
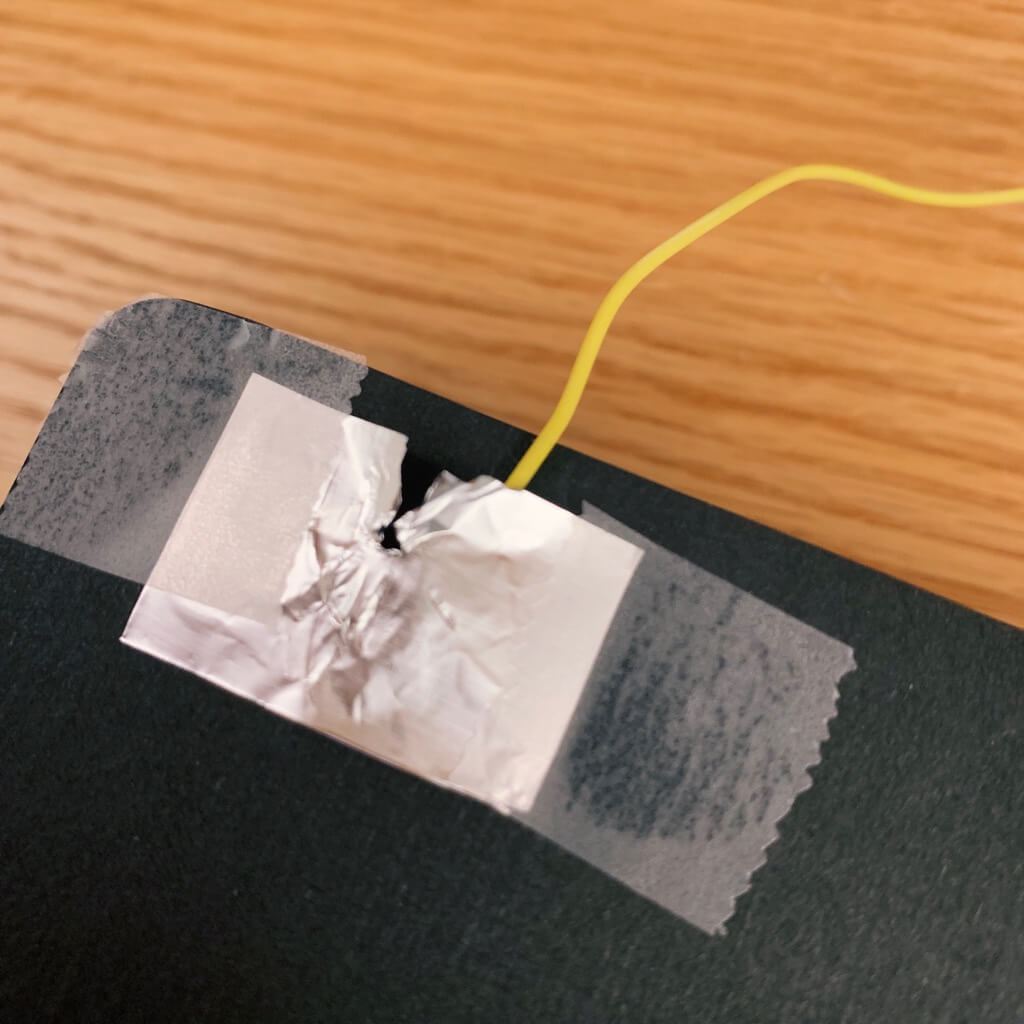
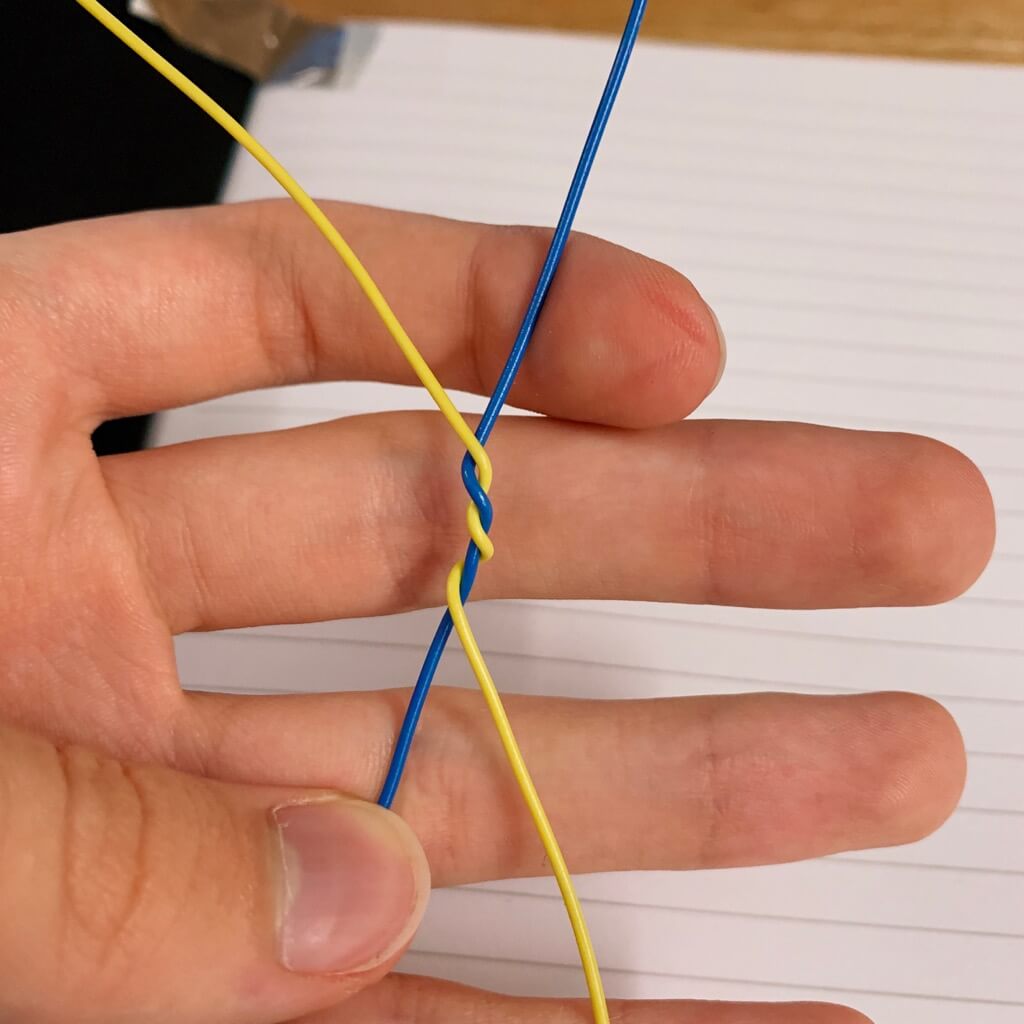
I started considering ways to snake the wires through the notebook before making the realization they could both be close to the spine, sharing one piece of foil, more reliably. I braided the cables together to increase stability:
Iteration 2 completed:
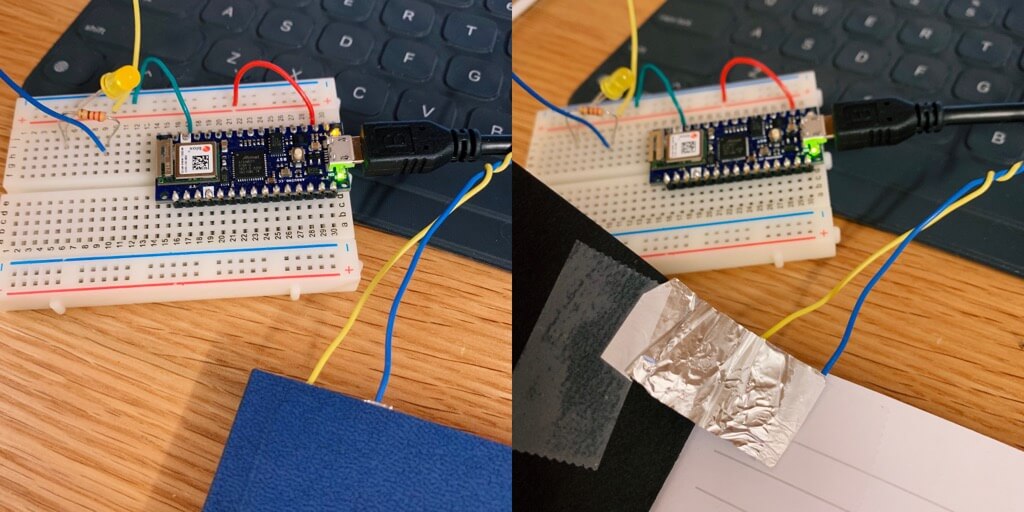
Working, mostly! It’s got a not-insignificant failure/false positive rate, but definitely functional.
With that, the project is finished! We’ve successfully made how often I write in my journal computationally accessible. We’ll need to hook up the Arduino to a piece of software to make the automated habit tracking software, but we’ve got the hardware side down.